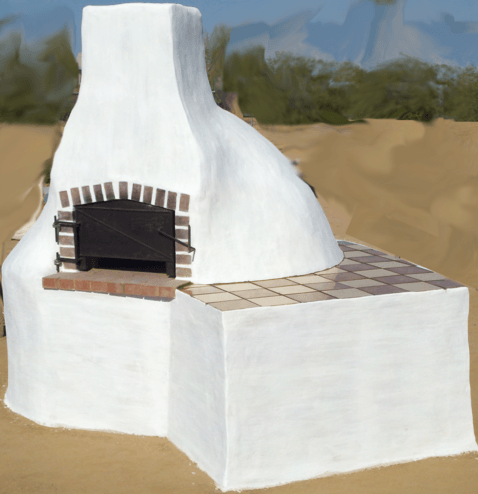
OK now I know what you’re thinking, didn’t we cover the base in the last post. The simple answer is yes but, there are some details that we should cover before you begin building your base and there a few things to note to prepare your base before building your oven, as I had to learn some of these the hard way.
If you notice there is a common theme here in these early posts and that is I learned things the hard way. Now I say learned because these beginning posts are playing catch up for you the reader as I only decided to do this blog approximately six months after we began this project. It was also during time that this project evolved into the full scale outdoor kitchen and dining area. This happened through a combination of my children’s interest and my own belief in fuel efficient design, using the earthen materials at hand and attempting to be as carbon neutral as possible. OK so what does all this fancy talk really mean? Well it means opening up an outdoor room so essentially adding space to our house and since we live in Arizona it can be used most of the year. As a bonus we don’t add heat to the house during the heat of the summer and the food is just better when cooked on open wood fires and in the earthen oven.
So that’s a plus but, what does the carbon neutral comment mean? This is really a simple concept. Anything that is burnt creates carbon monoxide and carbon dioxide. When we burn petroleum based fuels, both liquid and gas forms, we release all of the stored carbon in those fuels. Petroleum is created from all of the organic matter compressed and dissolved by the heat and pressure underground. This process concentrates the carbon in all of the organic matter into an extremely dense substance known as petroleum and when it is burnt it releases all of that stored and compressed carbon. Many times more carbon than burning a tree branch. Carbon neutral however means that it only releases the same amount of carbon as it has taken in. So if you burn a tree branch then you will only release the same amount of carbon that was taken in and stored in that branch, therefore you only release what was taken in making the process a repeatable and sustainable cycle. Never releasing more than what was stored.
OK now you’re saying what does all of this have to do with the base? Well depending on the size of your oven you may have to fire it from between one to two and a half hours. Now if your base has no insulation under it then you will have to put that much more energy from the fire into your oven. This means longer firing times and more wood. Now it is true that the wood burning is carbon neutral but, charcoal however is not and the extended firing time is not required if insulation is added to your base.
In all of my research and testing I have found dozens of ways to insulate the base from absorbing all of the heat of the fire. The easiest way I found was also the simplest which was to use a medium grain sand that we dug from a local wash. It holds enough air space to hold some heat but not transfer much heat to the rest of the base below. The other popular method I have found was to place empty wine bottles, either laying down or placed neck down in the center of the internal void to add empty air space under the sand. This works well if you are using fine sand and need the air space but, if like me you found a good mix of large and medium sand that holds plenty of air space. The airspace is the key to the insulation but, if the sand is too large in size you won’t be able level the bricks of the oven base. So try to keep this in mind when choosing your sand.
Also I found that it’s a good idea to seal the outside of your base with cob and earthen plaster as this protects the base from absorbing water but, if you are using cement mortar or stucco or any other sealer than it would be unneeded.
I wish I could have included some pictures of my kids building the base. In my experience learn to take pictures so you can share them later. I did take pictures of them working in the mud, dirt and rock starting from the ground to the point of them standing on the completed base. However my phone was stolen before I was able to transfer the photos onto a computer so they became lost forever. So now as we continue on this project I am much more conscious about taking pictures and I will include them in this blog.

