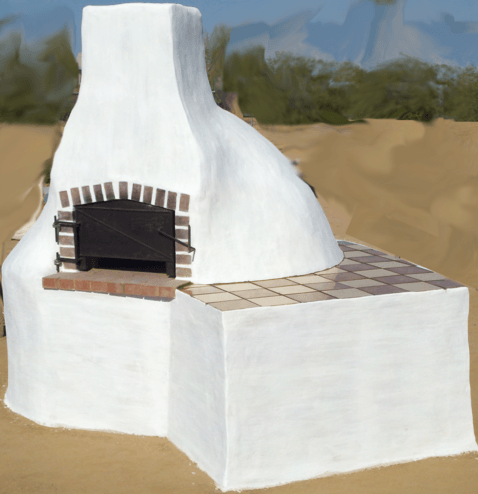
So I went out to work on plastering the dome and I noticed a broken tile. I’m not sure what hit the tile but, whatever it was it sure did the job. It could have been something from the big dust storm we had or maybe something was dropped on it. Whatever it was that happened I’m not sure but, I think I need to replace it.
If you look carefully in the picture above you can see where the break started and all the spider cracks fan out from. So I figured that since it was so close to the dome that I had better replace it to keep any water out. Plus since I’m going to work on the dome plastering next I had better replace it now.
I figured that the best way to remove the tile was to remove the grout around it first.
So I used a screwdriver and a small sledgehammer to gently tap out the grout. After that the tile pieces just came right out. I had to sweep and blow out all of the loose debris so the base was exposed and ready to have a new tile placed.
So I used some slip to soften and make the bed sticky again. I also made sure to cover the grout area so that the new grout will adhere well. Also before I placed the new tile I painted the back and edges of the replacement tile with the slip as well.
OK so I worked new grout in pressing it in very hard to make sure that there was no movement in the tile. The I used some slip to paint the top of the grout. I used the slip on top for a couple of reasons. One was seal the edges, two was to smooth out the grout mix and three was to blend the new grout in with the older grout.
I know this may seem like a lot of information for what some people may consider a trivial thing but, for me this was the first time removing and replacing a tile on this counter or this type of construction and since all of my tile reclaimed it’s a limited resource. So I figured that since I had to figure this out that someone else may have to as well and if they have limited resources as well then replacing a single tile makes more sense than ripping up all the tile and starting over.


