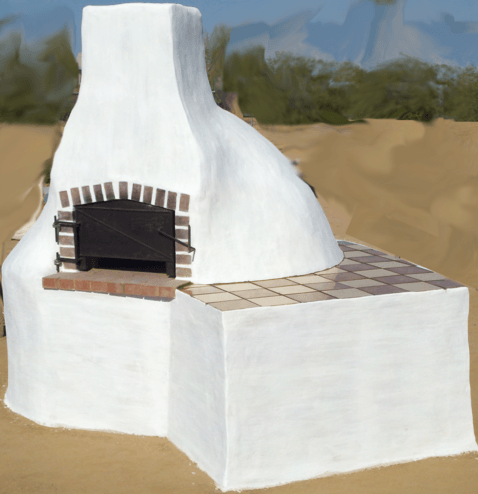
Today while I was working on plastering, blending and filling the outside of the oven my son Charles climbed into the oven to work on the cracks in the thermal layer.
Before we get to the work Charles did I want to make some comments about my last post about the cracks in the thermal layer.
“Once the thermal layer is fired and put into use you will inevitably see cracks. There are two types of cracks I found that happen. One type of crack is the expansion crack from the initial firing. When the oven cools these cracks don’t close. The nice thing about cob is that to repair these cracks you just wet the cracks with some clay slip and work in more cob to fill the crack. Then smooth them out with a damp finger and let them dry for a day or two before you fire the oven again. This technique works on the inside and the outside of the thermal layer.”
Well this still hold true for he most part. The only thing that I didn’t expect was that after using the oven this entire time that some of the cracks would open and stay open after cooking with live fire a number of times. It seems that just building a fie in the middle of the oven for a couple of hours to heat the oven for baking is fine but, when making many pizzas or cooking anything else with live fire has more effect. I think that because the fire is moved against the walls more heat is transferred creating more cracks. However the cracks are still fairly easy to repair.
“The second type of cracks is the expansion that appears while firing. These cracks close back up when the oven cools. This I have learned is normal in clay ovens. If the cracks close on the outside of the thermal layer then you don’t have to try and fill them and if you put the insulation layer over thermal layer it helps hold the thermal layer together. You will need to keep an eye on the inside of the oven. If a crack opens with heat and then closes as it cools then you’re fine. However I found that early on some cracks on the inside will start that way and then suddenly they stay open and never close. Those you need to go and fill.”
These cracks start to go away after you’ve been using the oven for a while. We’ve been using it for almost a year now and when a crack shows up it stay until we fill it. I think this is because most of the moisture has been removed and the inside of the thermal layer is now more of a terra cotta.
“As long as regular maintenance is done your oven should last. That was another statement that I read over and over but, I had no idea what it meant at that time. Well now I can tell you that regular maintenance means checking and filling cracks.”
This is the key to making your oven last. Like I said we’ve been using our oven for almost a year and the door opening has gotten hit and damaged, the walls have been hit it pans and damaged and the heat has caused some damage. If the cracks and damage is filled and fixed then the oven just goes right on working but, if the damage is left unchecked sooner or later the oven will fail.
OK so with all that said, on with the show. I took a few pictures of the cracks and damage as well as after the repair.


